|
Whether you call this form of digital photography "box photography", "inside the box", "in the box", or "photo box photography", the biggest question I often get is "how the heck do I edit the box photos?" No matter if you are a novice photographer or seasoned professional, photoshop master or lightroom beginner, here are a few tips and tricks and video tutorials to help you out! Tip #1: When starting out photographing your first box image, keep all limbs inside the box. This will make your first attempt at editing much easier. Once you are comfortable with the photoshoot and photoshop, then you can venture out into more complex poses. Let's get started! First you will need to organize your images and decide which ones you will want to use for your inside the box composite. I prefer to use Lightroom to organize and crop my images. I like to sort my images using Lightroom's color and star rating system. I pick out my contenders for the composite. 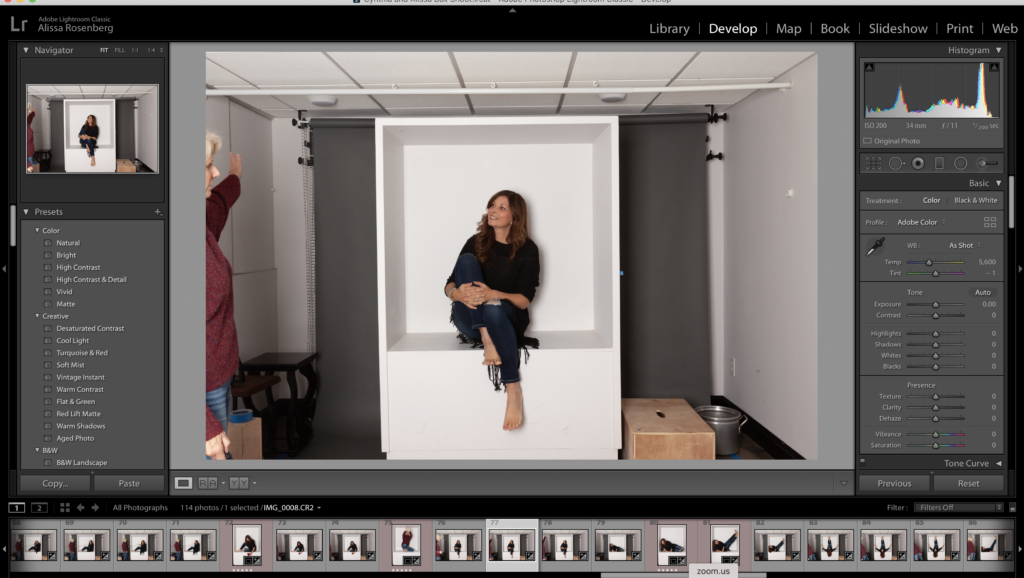 Next I will crop the images in lightroom. If I do not have anything hanging out over the box sides (feet, objects), then I can crop one photo, select all the rest and use the Sync feature to quickly crop the entire group. However, if there are body parts hanging over, then I would need to crop each image individually.
Once all of the photos are cropped I will highlight all the images by hovering my mouse over the bottom of the page, right click and choose: "edit in"- "open as layers in Photoshop". This will bring all of your selected images into photoshop.
1 Comment
Have you ever wanted to try out "In the Box" or "Inside the Box" photography but you just don't know where you would store the darn thing? Well our Guest Blogger Thomas Fenchel came up with a great solution, a collapsible box! Thank you Thomas for creating this blog for us! *********************************************************************************************************** For long time I have been fascinated by photo collages of an "In the Box" or "Inside the Photo Box". These boxes need to be large enough to fit adults and kids, therefore, I had the struggled with where to store such a large box as the space in my studio and related area is limited. For long time I have been fascinated by photo collages of an "In the Box" or "Inside the Photo Box". These boxes need to be large enough to fit adults and kids, therefore, I had the struggled with where to store such a large box as the space in my studio and related area is limited. I am a member of the Facebook group Inside the Photo Box photography where I learned some useful inspiration to solve my problem. The box needs to be collapsible, so I can store it aside with limited required space. I made my box of melanin boards, 120x60cm and 16mm thick (pic1). The US equivalent size would be 4x4x2 ft. I used 4 boards for the frame and 2 for the back side. To make it collapsible I used quick releases (pic2). I looked what I could find in my local hardware store. 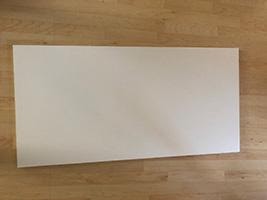 Picture 1 |

AuthorAlissa Rosenberg is the owner of Photo Box Designs where you can find beautiful photoshop templates for photographers. ArchivesCategories |

 RSS Feed