|
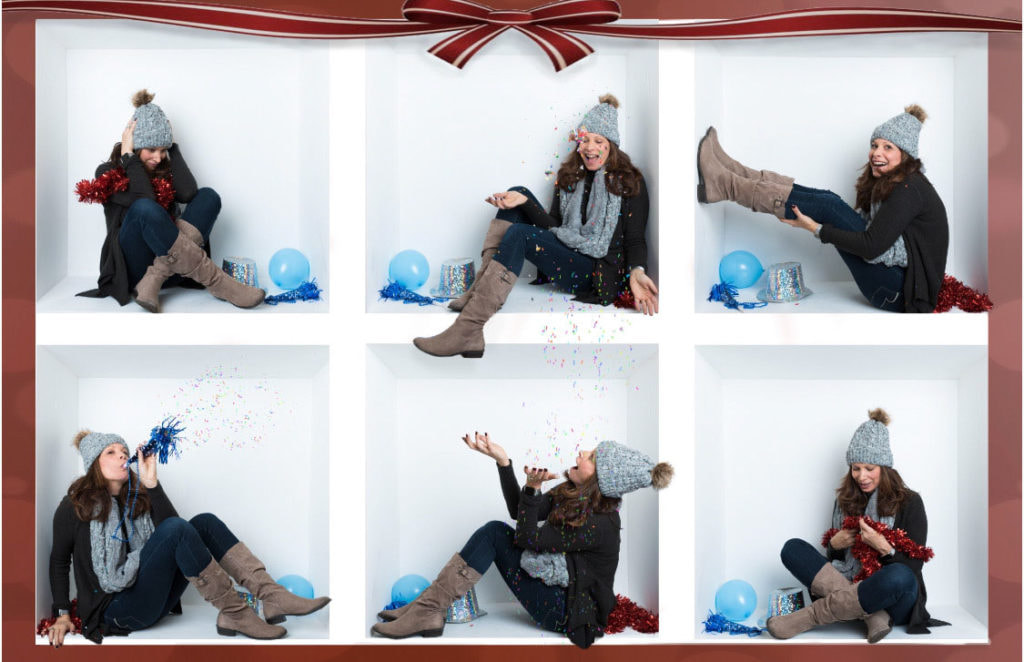
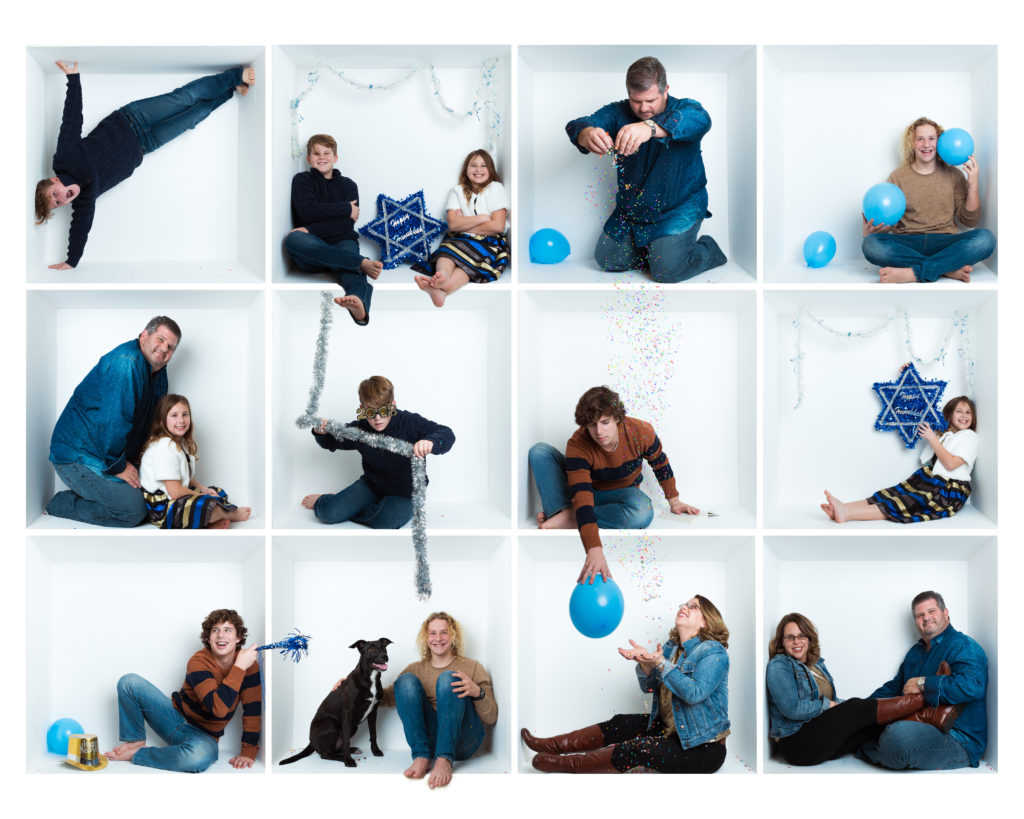
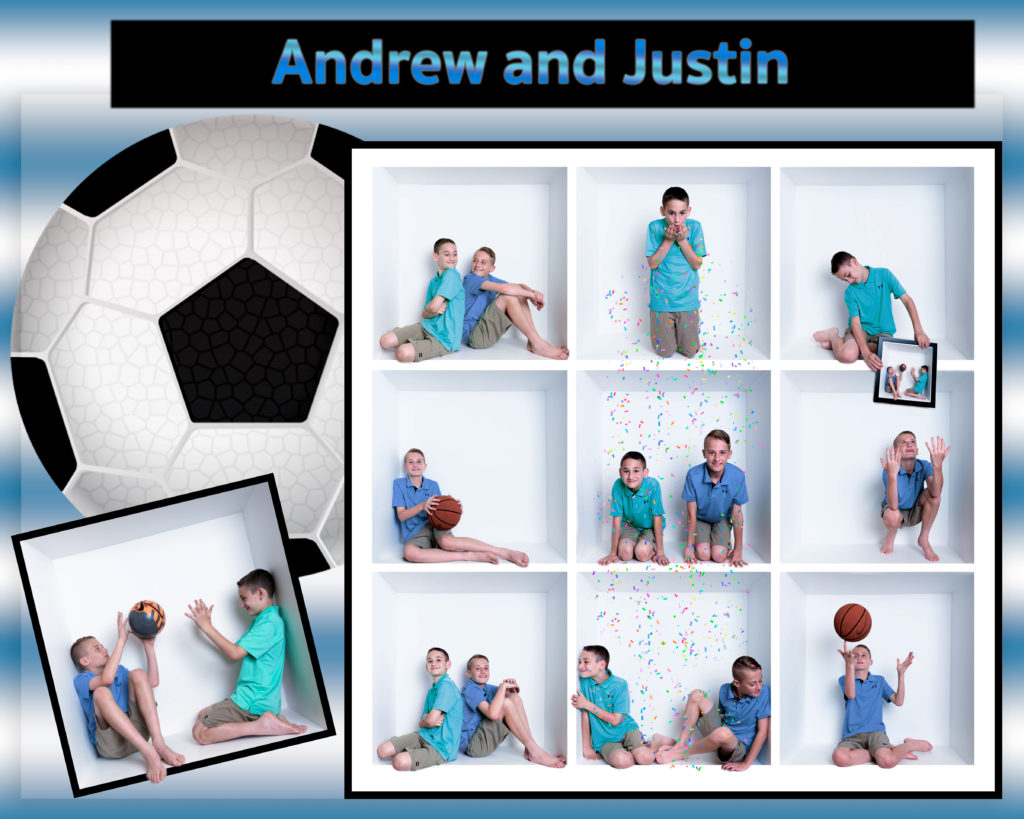
Whether you call this form of digital photography "box photography", "inside the box", "in the box", or "photo box photography", the biggest question I often get is "how the heck do I edit the box photos?" No matter if you are a novice photographer or seasoned professional, photoshop master or lightroom beginner, here are a few tips and tricks and video tutorials to help you out! Tip #1: When starting out photographing your first box image, keep all limbs inside the box. This will make your first attempt at editing much easier. Once you are comfortable with the photoshoot and photoshop, then you can venture out into more complex poses. Let's get started! First you will need to organize your images and decide which ones you will want to use for your inside the box composite. I prefer to use Lightroom to organize and crop my images. I like to sort my images using Lightroom's color and star rating system. I pick out my contenders for the composite. 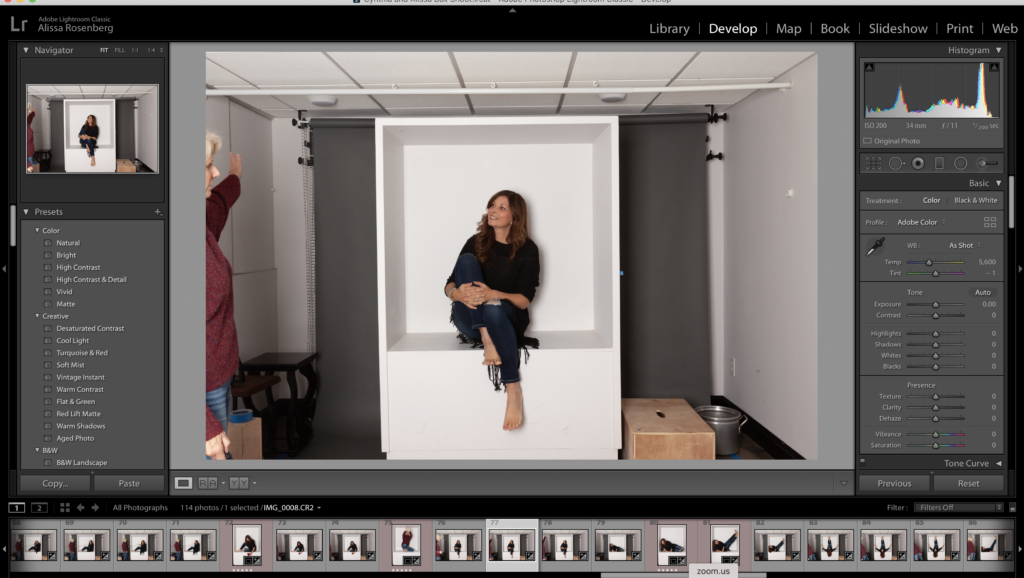 Next I will crop the images in lightroom. If I do not have anything hanging out over the box sides (feet, objects), then I can crop one photo, select all the rest and use the Sync feature to quickly crop the entire group. However, if there are body parts hanging over, then I would need to crop each image individually. Once all of the photos are cropped I will highlight all the images by hovering my mouse over the bottom of the page, right click and choose: "edit in"- "open as layers in Photoshop". This will bring all of your selected images into photoshop. 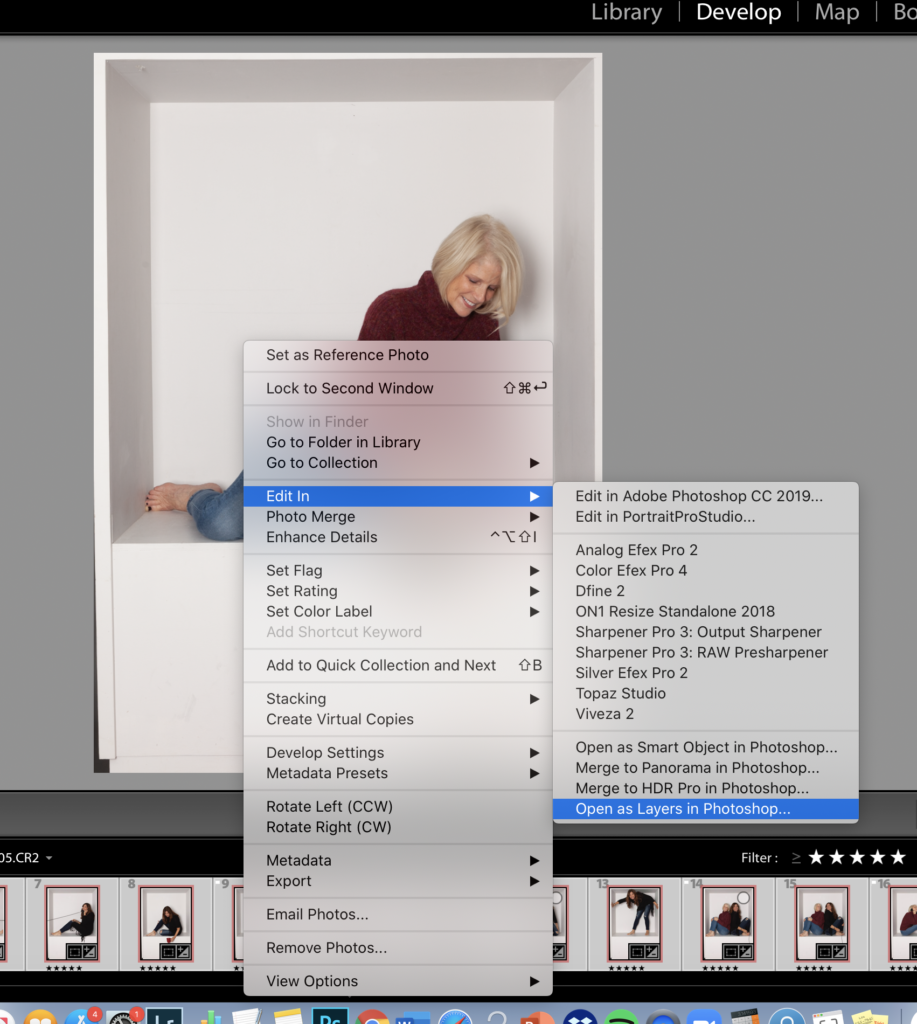 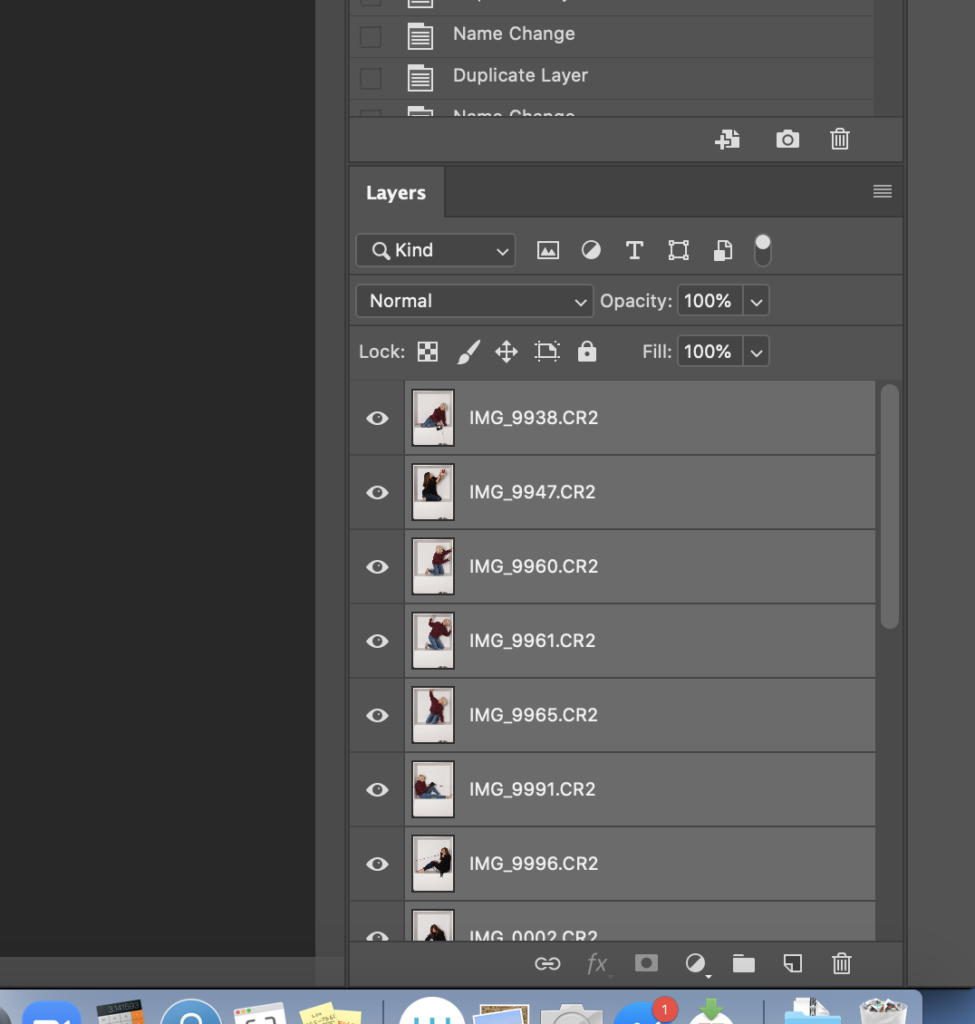 Here is a quick video that demonstrates how I move images from Lightroom to Photoshop. You will notice that I have not cropped the images yet. In most of my tutorials I have demonstrated cropping in photoshop. I have more recently taken to the process of cropping in lightroom as I have found it a quicker process. Once you are in photoshop you will need to open up a template to place your images into. One of the most popular box photography templates is a 9 box Photoshop Grid Template. However, there are also many other configurations ranging from a single box to hundreds. You can make your own template if you have some savvy photoshop skills, or purchase a premade template from Photo Box Designs Template Store. 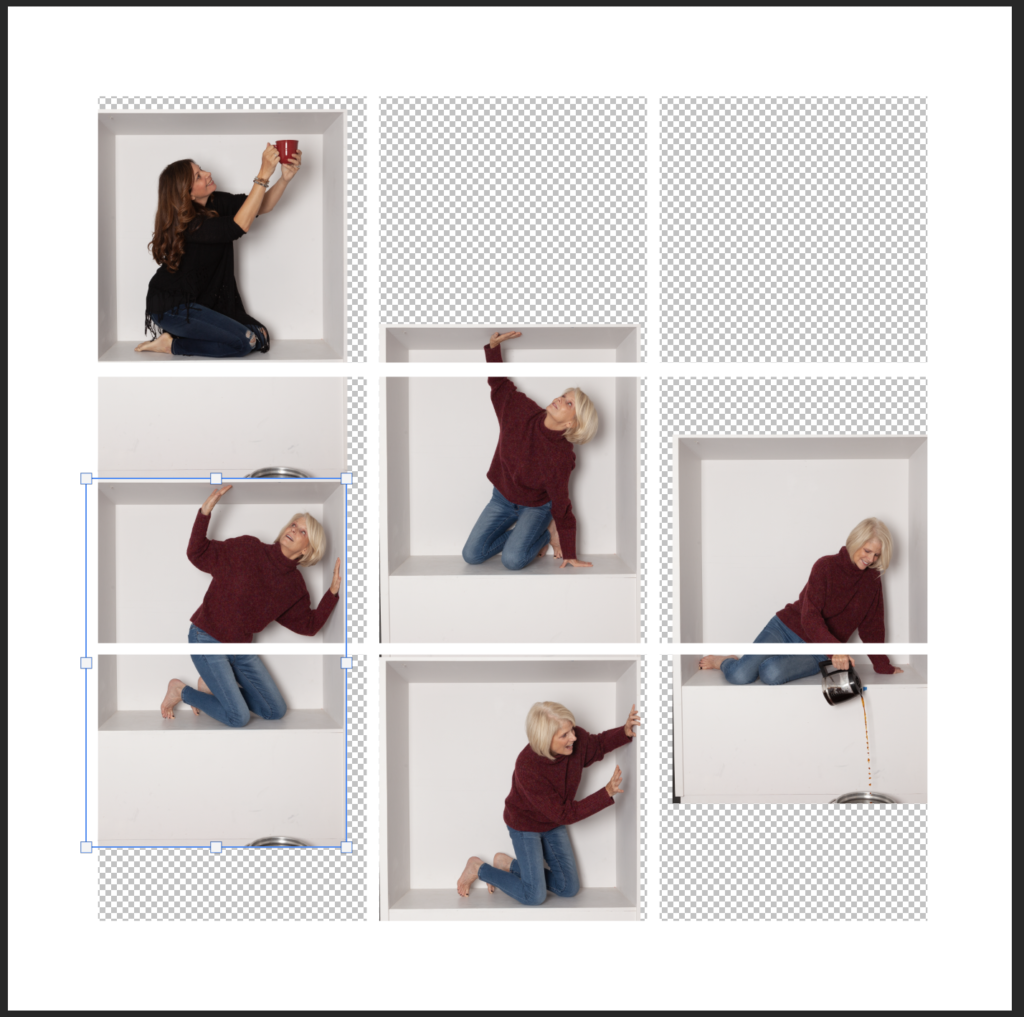 Once I have all my images in photoshop, then I will select the images that I want to transfer into the template on the layers panel. I will then use the commands : control (for a pc) or command (mac) + C to COPY all the images. Go to the template and click the command: control (for a pc) or command (mac) + V to PASTE all the images into the template. You must make sure that your images are BELOW the template for this to work. You can then start moving your images under the grid template to the desired configuration that you would like to achieve. If you are more adventurous and have taken photos with limbs and objects that cross the barriers of the boxes, then the editing can get a little more complicated. But have no fear!! You can do this! Here is a video that I created that shows the photoshoot and the next one is my UPDATED editing video. It will help you to understand how to edit Box Photography "tricks". Here is my final image! We had a blast creating this box photo! 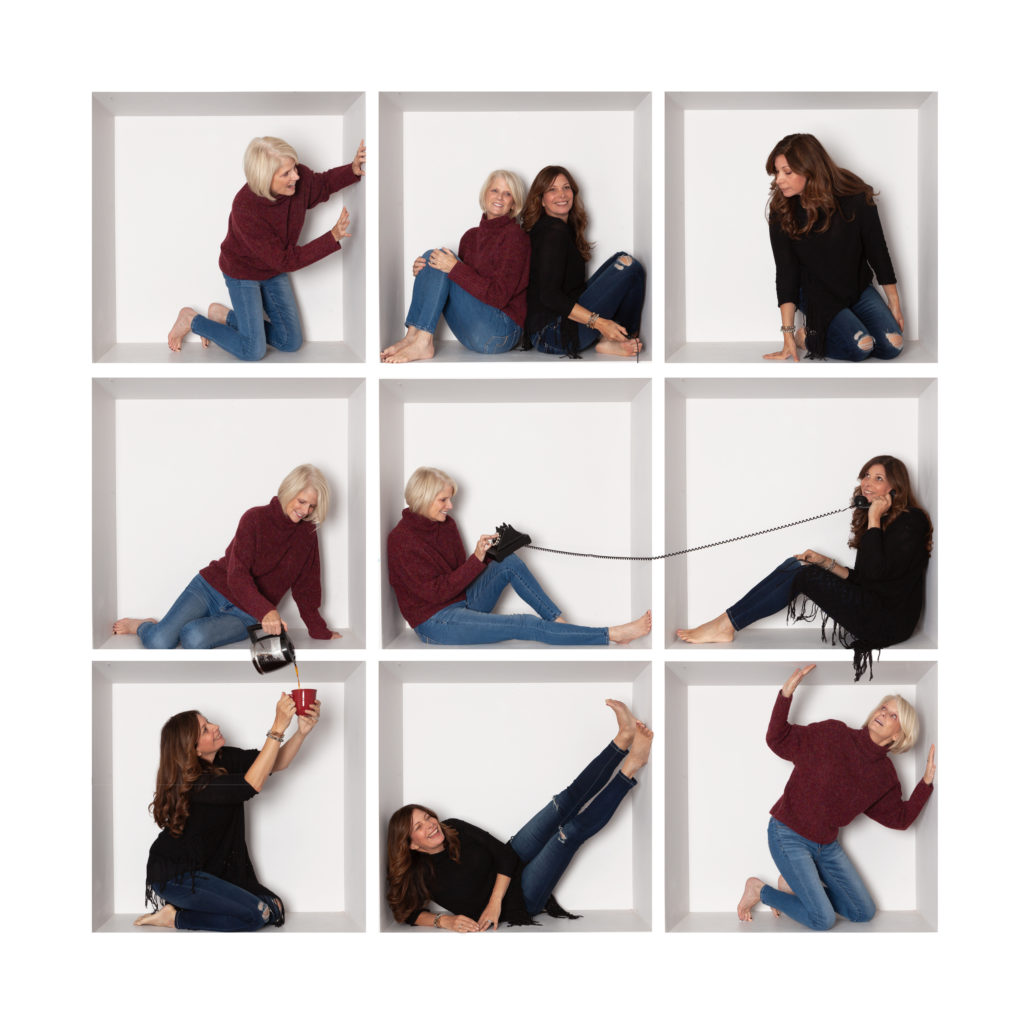 Here are a few other samples that you can create using different photography template configurations. But really, the design opportunities are limitless! If you are a photographer and are interested in learning the process of photographing in the box and talking with other creative, like minded people, then consider joining the THRIVING Facebook Page: INSIDE THE PHOTO BOX PHOTOGRAPHY AND PHOTOSHOP. This is the largest Box Photography Page on Facebook, with over 20,000 members learning Box Photography! Isn't that amazing! Photo Box Designs and the Facebook Group "Inside the Photo Box" also give away a FREE 3 BOX TEMPLATE along with guidelines on how to build the box and edit the photos. Grab your FREE template here: Photo Box Designs Store. Join here: Inside the Photo Box Photography and Photoshop I hope you enjoyed this blog post and found it helpful in your endeavor to create amazing Box Photography Composites!! Follow Us on Facebook and Instagram. All photographs are the property of © Photo Box Designs. Reproductions and downloads without permission is prohibited. However, you are welcome to share this post on your own site or through social media.
1 Comment
5/22/2024 11:42:27 am
Great post much appreciate the time you took to write this. Leave a Reply. |
AuthorAlissa Rosenberg is the owner of Photo Box Designs where you can find beautiful photoshop templates for photographers. ArchivesCategories |


 RSS Feed